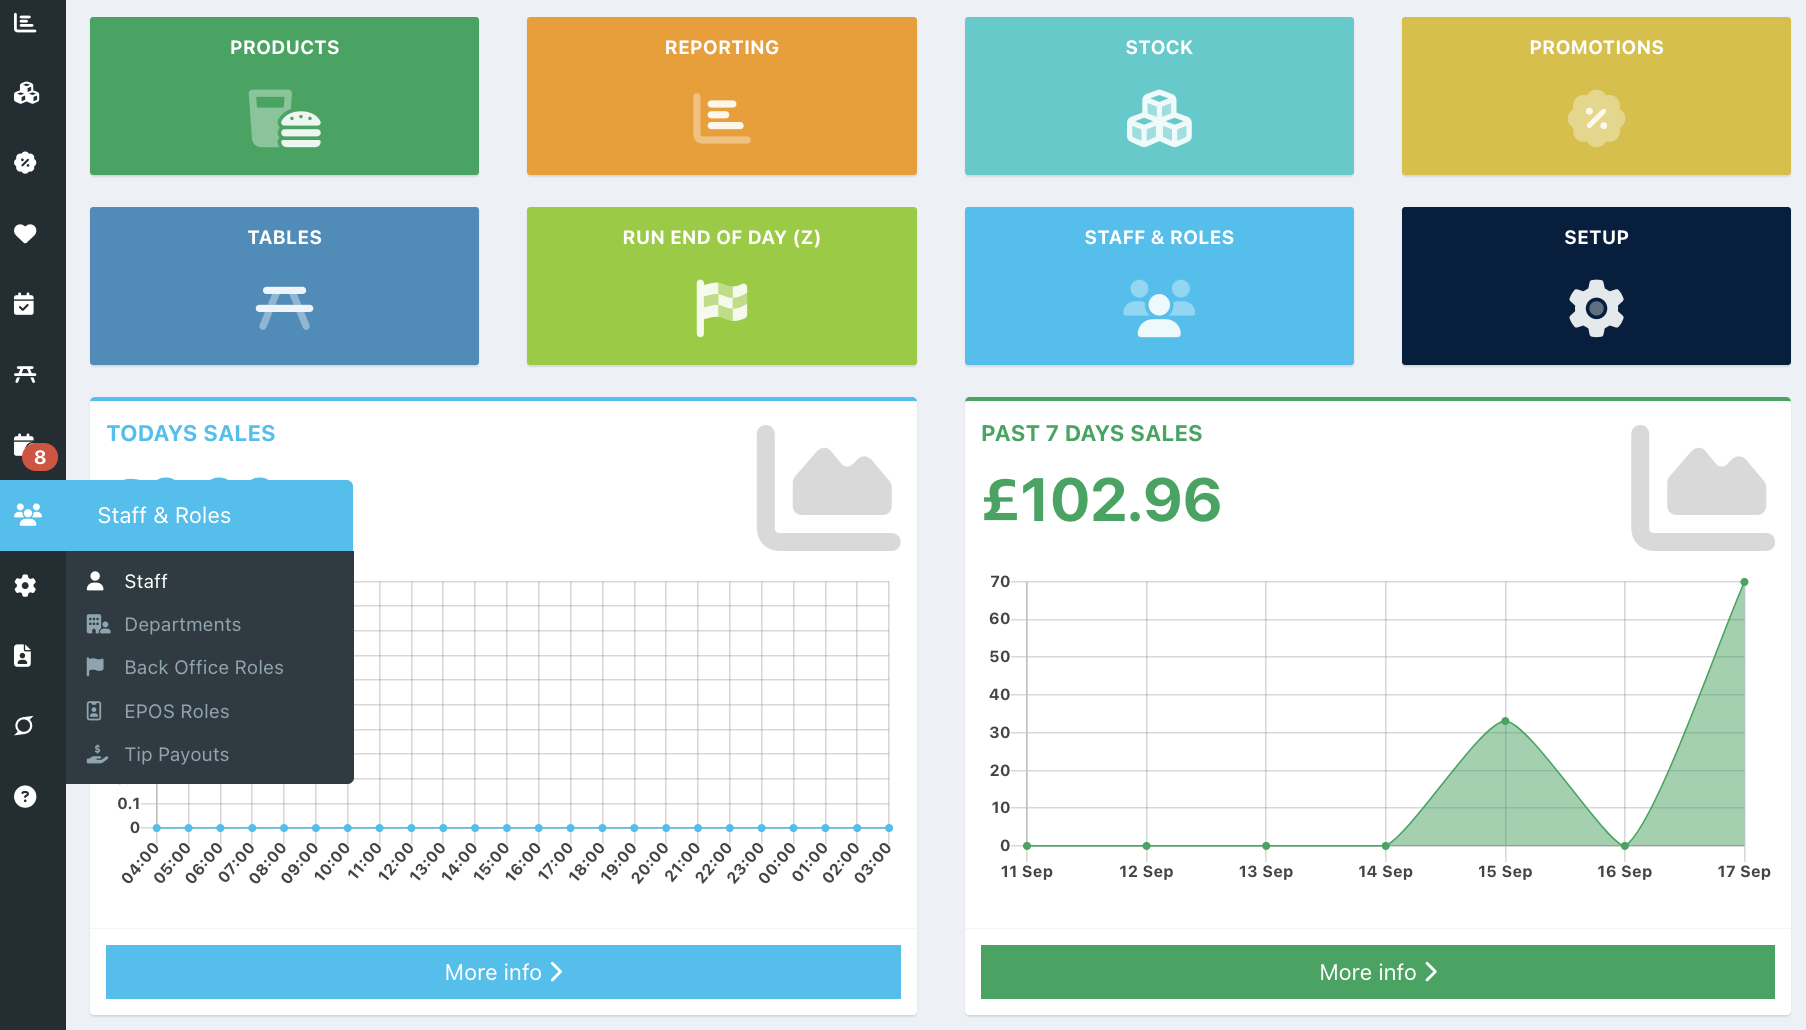
To set up new users, go to the back office and select Staff & Roles > Staff.
If the user you are adding needs back office access, first create the role with the appropriate permissions, then create the user and allocate them to the appropriate role.
From the Staff screen, click the blue Create a new user button.
You will be taken to a form to enter the new user's details. Enter the user's name and select whether they need access to the EPOS, the back office, or both.
If a user will not have access to the back office, but you want them to view published rotas you share via email, you can tick View rotas from the checkboxes displayed.

You will then be prompted to enter the details for each option you selected.
EPOS users
If you selected EPOS, you can choose to enter a PIN or leave it blank for no PIN.
You can either enter a username or use the full name already entered by clicking the blue Use full name button.
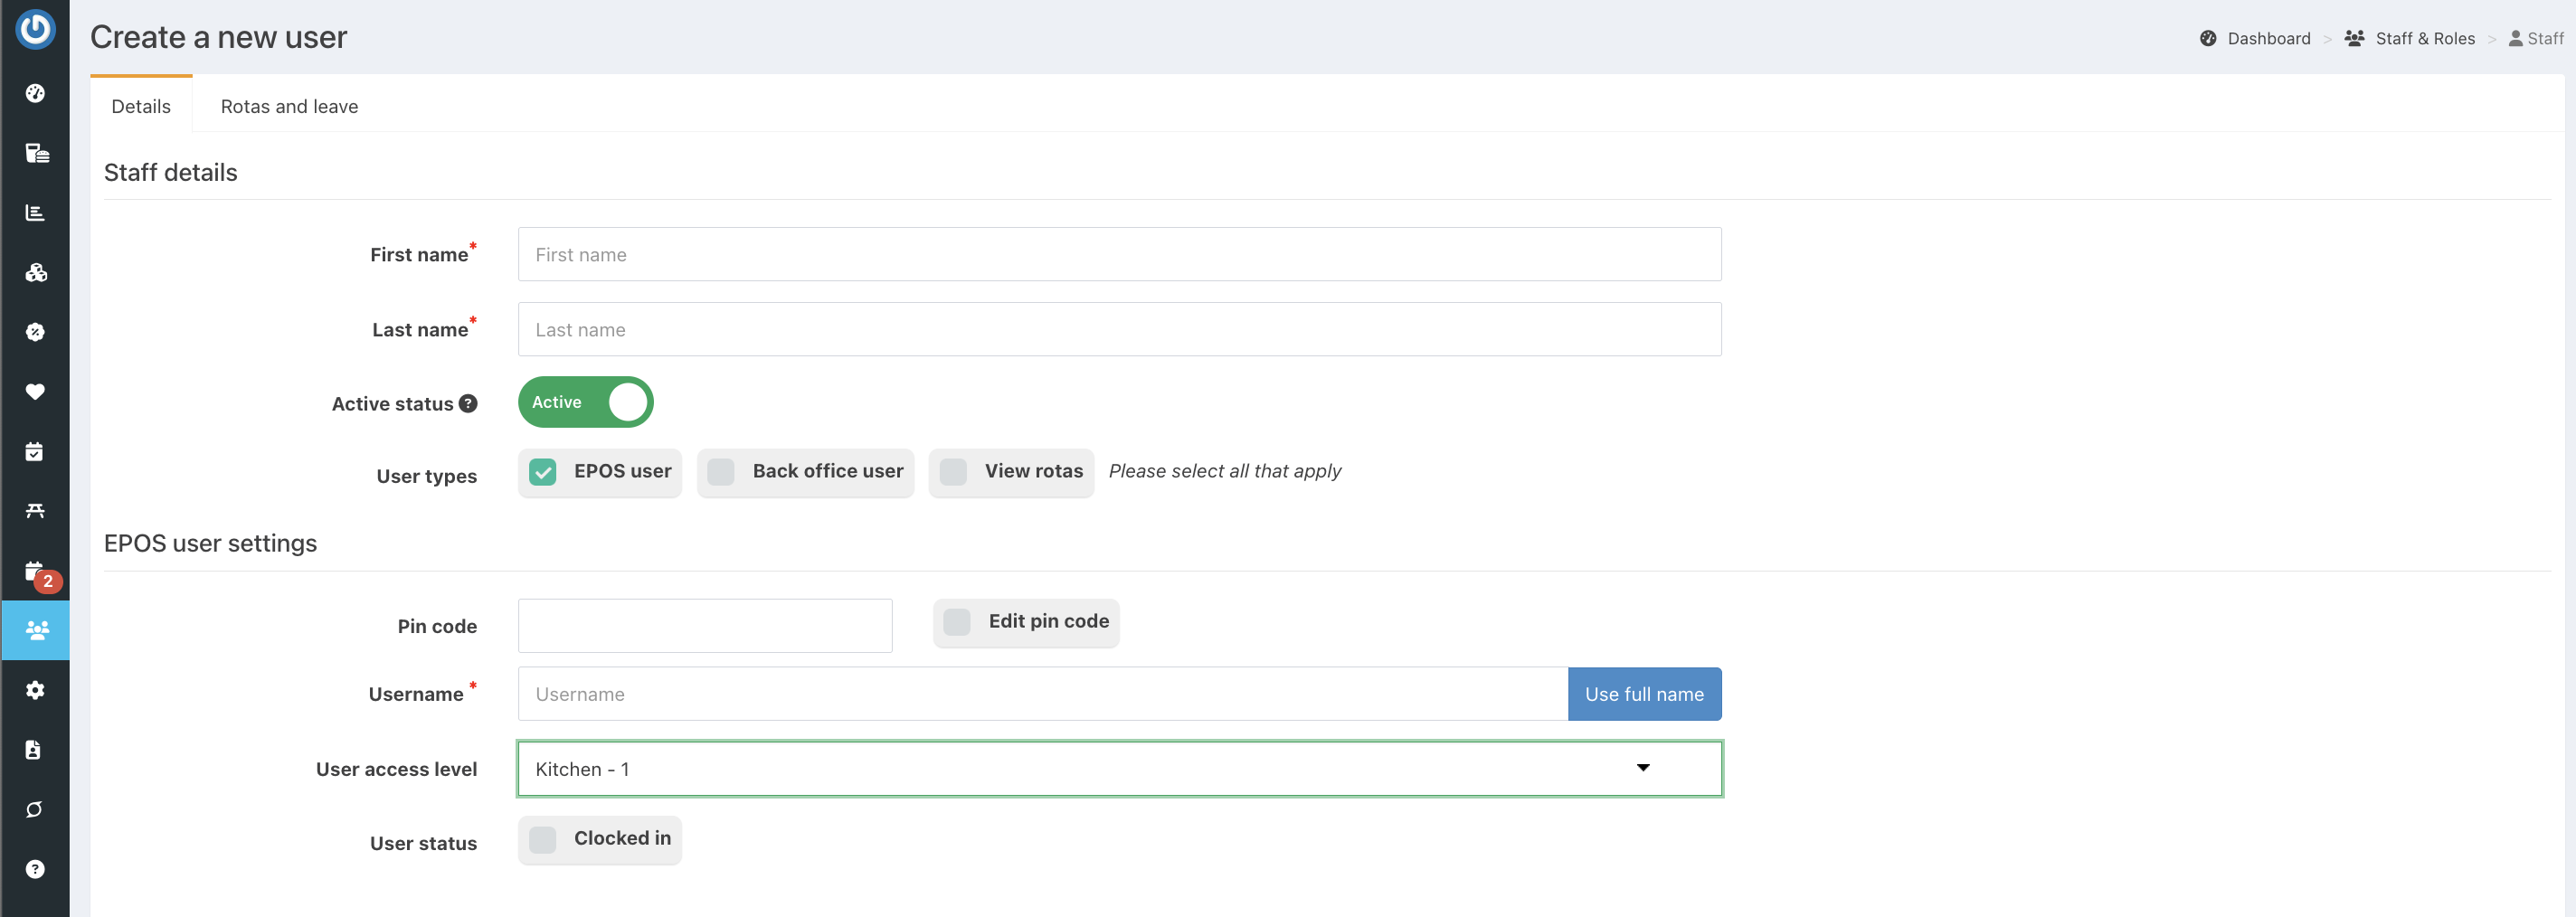
You'll then need to choose an access level depending on the user's role. The default permissions for each of these roles are:
- Kitchen - Access to Kitchen view only for EPOS
- Front of house - Standard user access (no access to the Admin view or to perform voids, no sales, or refunds)
- Supervisor - Standard user access with the ability to perform voids, refunds, and no sales
- Manager - Full access for managers. Allows full access to EPOS and the back office administrator access (if a password is entered)
To update these roles and permissions, see Configuring EPOS Roles.
View rotas
If you selected view rotas you will need to enter an email address in the back office user settings, which will be used to invite the user to the back office for the purpose of viewing rotas only. This will also be their login email.

Back office users
If you selected back office user you will need to enter an email address, which will be used to invite the user to the back office. This will also be their login email.
You will also need to select a role for the user.

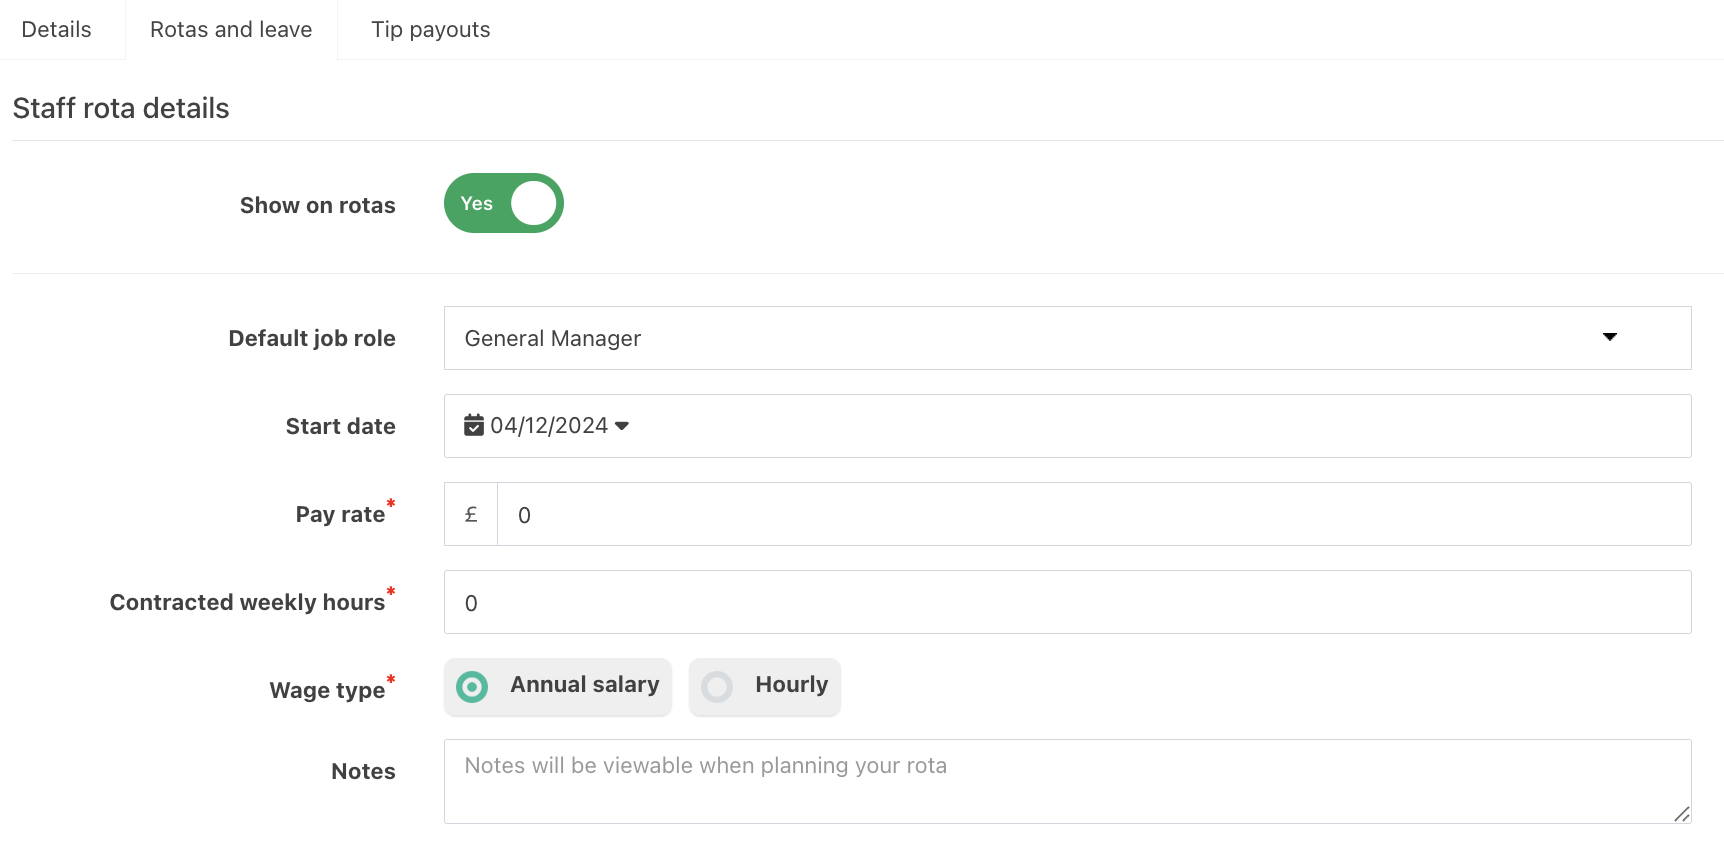
If you will be using the EPOS rota and staff scheduling module, you will need to set any rota details from the Rota and leave tab, at the top of the screen.
By default Show on rotas will be toggled to on.
You will want to add the following:
- Default job role - The job role of the staff member. This will be displayed and colour-coded on rotas and can be changed for a particular shift if needed. You can add job roles from the Staff scheduling setup.
- Start date - the date the staff member started. This is for your information only
- Pay rate - The staff member's pay
- Contracted weekly hours - The number of hours the staff member works in a week. If the staff member works variable hours, you should still put an average expected hours figure in the contracted hours field, as this field will be used to estimate the cost of any holiday they take
- Wage type - How the staff member will be paid
- Hide from rotas - Tick this box if you do not want this user to show on rota
Departments
If you use departments to split your rota and wage costs, you can assign a department to your staff member by clicking the Department field or typing the Department name.
Repeat this process to add multiple departments.

Leave
If you track holiday leave through the leave module, you will need to set up leave for the employee.
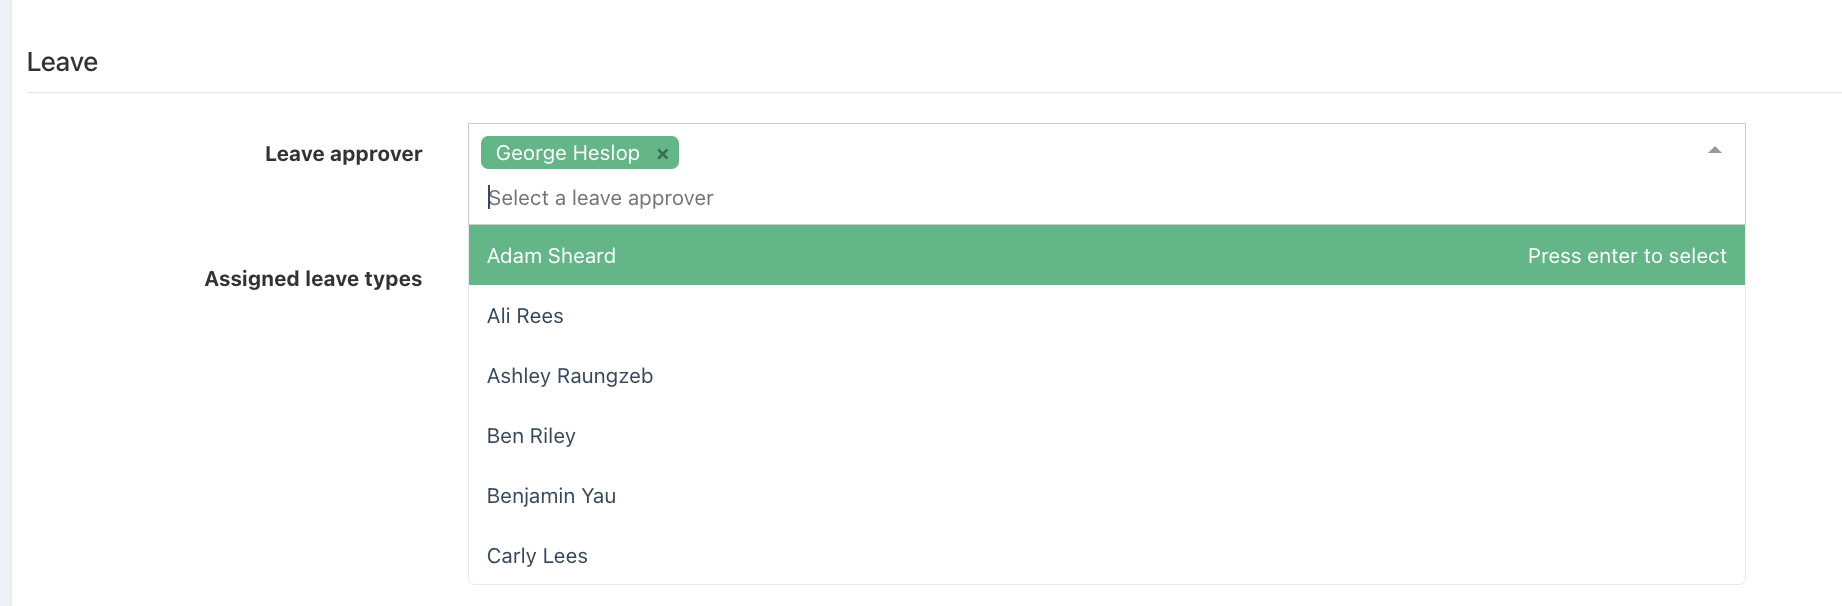
If the staff member will have different leave approvers from those set as the default leave approver, you can set the specific approvers here.
From the Leave approver dropdown field, start typing the name of the approver or scroll through the list & press enter to assign.
Note: Any leave approvers set here will be used instead of the default leave approvers.
You can then assign a leave type to your staff member.
To assign a leave type, click the blue Assign a leave type button.

From the dropdown, select the Leave type to allocate to the staff member.

In the Opening balance field, enter the number of hours the staff member currently has for this leave type. See the examples below to help with setting the opening balance.
- Example 1 - for a new joiner on a fixed accrual leave type, enter the pro rata balance for the remainder of the holiday year.
- Example 2 - for a new joiner on an hourly accrual leave type, leave the opening balance as zero as they won't yet have accrued any leave.
- Example 3 - If you are moving over from a different holiday tracking system, opening balances should reflect the staff members current balances on the system you are moving from.

Once you have entered the opening balance, click the blue tick at the end of the row, to apply the leave type to the staff member.

Finally, click the blue Done button at the bottom of the page.
Was this article helpful?
That’s Great!
Thank you for your feedback
Sorry! We couldn't be helpful
Thank you for your feedback
Feedback sent
We appreciate your effort and will try to fix the article